Free Chicken Run Plan: The Backyard Run, 8′ × 16′
A complete free starter plan for a walk-in, wood-frame chicken run: 8 feet wide, 16 feet long, 128 square feet — the right size for up to 12 hens. Full materials list, tool list and step-by-step build outline below, plus a printable PDF.
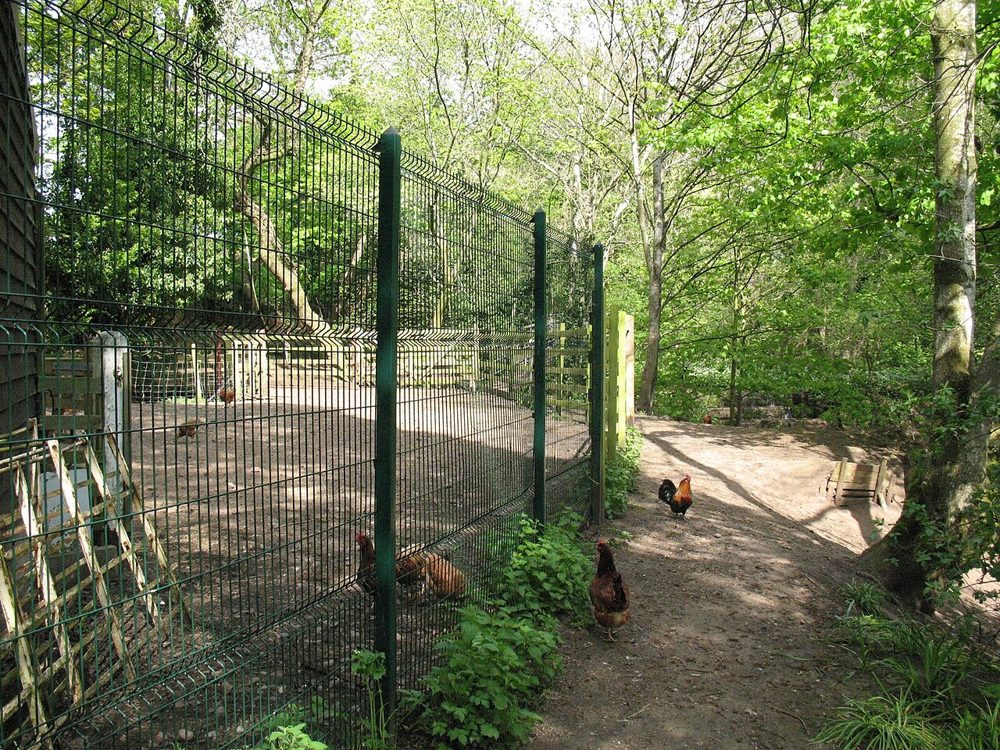
Specifications
| Finished size | 8′ wide × 16′ long; 6′ high at the front wall, 5′6″ at the back (sloped roof line) |
|---|---|
| Run area | 128 sq ft |
| Capacity | Up to 12 hens at 10 sq ft per bird (8–10 hens is the comfortable number) |
| Structure | Pressure-treated 4×4 corner posts, 2×4 framing, base boards at ground level |
| Mesh | ½-inch 19-gauge galvanised hardware cloth on all walls; apron around the base |
| Door | 30-inch framed walk-in door with two-step latch |
| Roof | Mesh roof as standard; sloped rigid panels are a bolt-on upgrade |
| Build time | One weekend for two people (framing day one, mesh and door day two) |
| Estimated materials cost | Roughly $280–$450 at typical US 2026 prices, mostly mesh — see the budget guide |
Front wall framing: corner posts, intermediate posts every 4 feet, top and mid rails, base board. The door occupies the right-hand bay.
Complete materials / shopping list
| Item | Qty | Notes |
|---|---|---|
| 4×4 pressure-treated posts, 8′ | 4 | Corner posts; cut to height (front pair taller for roof slope) |
| 2×4 pressure-treated lumber, 8′ | 14 | Top/mid/base rails for the two 16′ walls (cut to 4′ and 8′ sections) |
| 2×4 pressure-treated lumber, 8′ | 8 | End walls and door framing |
| 2×2 lumber, 8′ | 4 | Door frame and braces |
| ½-inch 19-gauge hardware cloth, 36″ wide | 100′ roll | Walls (two courses high on the long walls), door, and roof if meshing the top |
| ½-inch hardware cloth, 24″ wide | 50′ roll | Apron around the base (12–18″ laid flat, bent up the wall) |
| Exterior screws, 3″ | 1 box (approx. 200) | Frame joints |
| Exterior screws, 1¼″ + fender washers | 1 box each | Fixing mesh — washers stop pull-through; do not use staples |
| Hinges, heavy T or strap | 2 | Door |
| Two-step latch + carabiner | 1 set | See the predator guide for why two-step matters |
| Corner brackets / hurricane ties | 8 | Post-to-rail reinforcement |
| Gravel or coarse sand | 4–6 bags | Post holes and a dry strip inside the door |
| Ground pins / landscape staples | 1 pack | Pinning the apron flat |
Tool list
- Tape measure, spirit level, string line and stakes
- Post-hole digger or spade
- Circular saw or hand saw, plus a mitre guide for square cuts
- Drill/driver with bits
- Tin snips or angle grinder for cutting hardware cloth (gloves — cut edges are sharp)
- Hammer, pliers, staple gun (for temporary positioning only)
- Step ladder for the roof line
Step-by-step build outline
- Mark and level. String out an exact 8′ × 16′ rectangle, check the diagonals match, and level the ground inside it roughly. Decide which short end gets the door.
- Set the corner posts. Dig 18–24 inches down, gravel in the base, posts in, braced plumb. Front posts finish at 6′, back posts at 5′6″ — that difference is your roof slope.
- Base boards. Screw 2×4 base boards around the inside of the posts at ground level. These give the mesh a solid bottom fixing and block the gap under the walls.
- Rails. Top rails and mid rails on all four walls, posts or studs every 4 feet. Frame the door opening (30 inches clear) in the chosen end wall.
- Mesh the walls. Hardware cloth in two horizontal courses on the long walls, single course on the ends, screwed with fender washers every 6–8 inches. Overlap courses by 2 inches and wire the overlap.
- Lay the apron. 24-inch hardware cloth flat on the ground around the outside, bent up the wall at the inner edge and screwed to the base board; pin the outer edge and cover with soil or gravel. Full method in the predator-proofing guide.
- Build and hang the door. A simple 2×2 framed door, meshed, on two strap hinges, with the two-step latch and carabiner. Check the half-inch rule around all four sides of the closed door.
- Roof. Mesh across the top as standard (screwed to the top rails), or fit sloped rigid panels front-to-back for a dry run. Leave no gap where roof meets walls.
- Final walk. The half-inch gap hunt, a hard pull on the mesh at ground level in five places, and a latch test with gloves on. Then — and only then — hens.
Before you build
Check local ordinances on coop/run setbacks and flock limits — they vary by city and HOA, and a run this size is a permanent structure in most codes. Call before you dig if your yard may have buried services.
Honesty line: this is a DIY plan drawn to standard prescriptive framing practice for a garden structure. It is not an engineer-stamped drawing, and it does not replace local building advice for your soil, snow load or wind zone. Build within your experience, and get help with any step you are unsure of.
Keep planning
How Big Should a Chicken Run Be?
Confirm 8′ × 16′ suits your flock before you buy lumber.
Predator-Proof Chicken Run
The apron, latch and gap details this plan assumes.
15 Cheap DIY Chicken Run Ideas
Other builds if this one is not your shape.